Showing posts with label Selling. Show all posts

Sunday, September 6, 2015

Little Quail Etsy's Shop is Now Open

LittleQuailCreations Etsy's Shop
The day is finally here! My Etsy's shop is OPEN! It has been a long time coming. I have amassed quite a bit of inventory that I really need to get moved out for new stuff.  My shop is going to be a mix of  bags, infant/childrens items, accessories and kids clothing. At some point I may even introduce patterns to the shop but I think I'm going to invest sometime to fine tuning my pattern drafting skills first.

Please go check it out. I'd love some feed back to know what you think! I'm open to (constructive) suggestions. I'd also like to know if there is anything in particular that you would like to see stocked in the shop.

Thanks for stopping by the nest!
Darla

Saturday, March 21, 2015

Lenten Sewing - Single Pocket Rosary Pouch

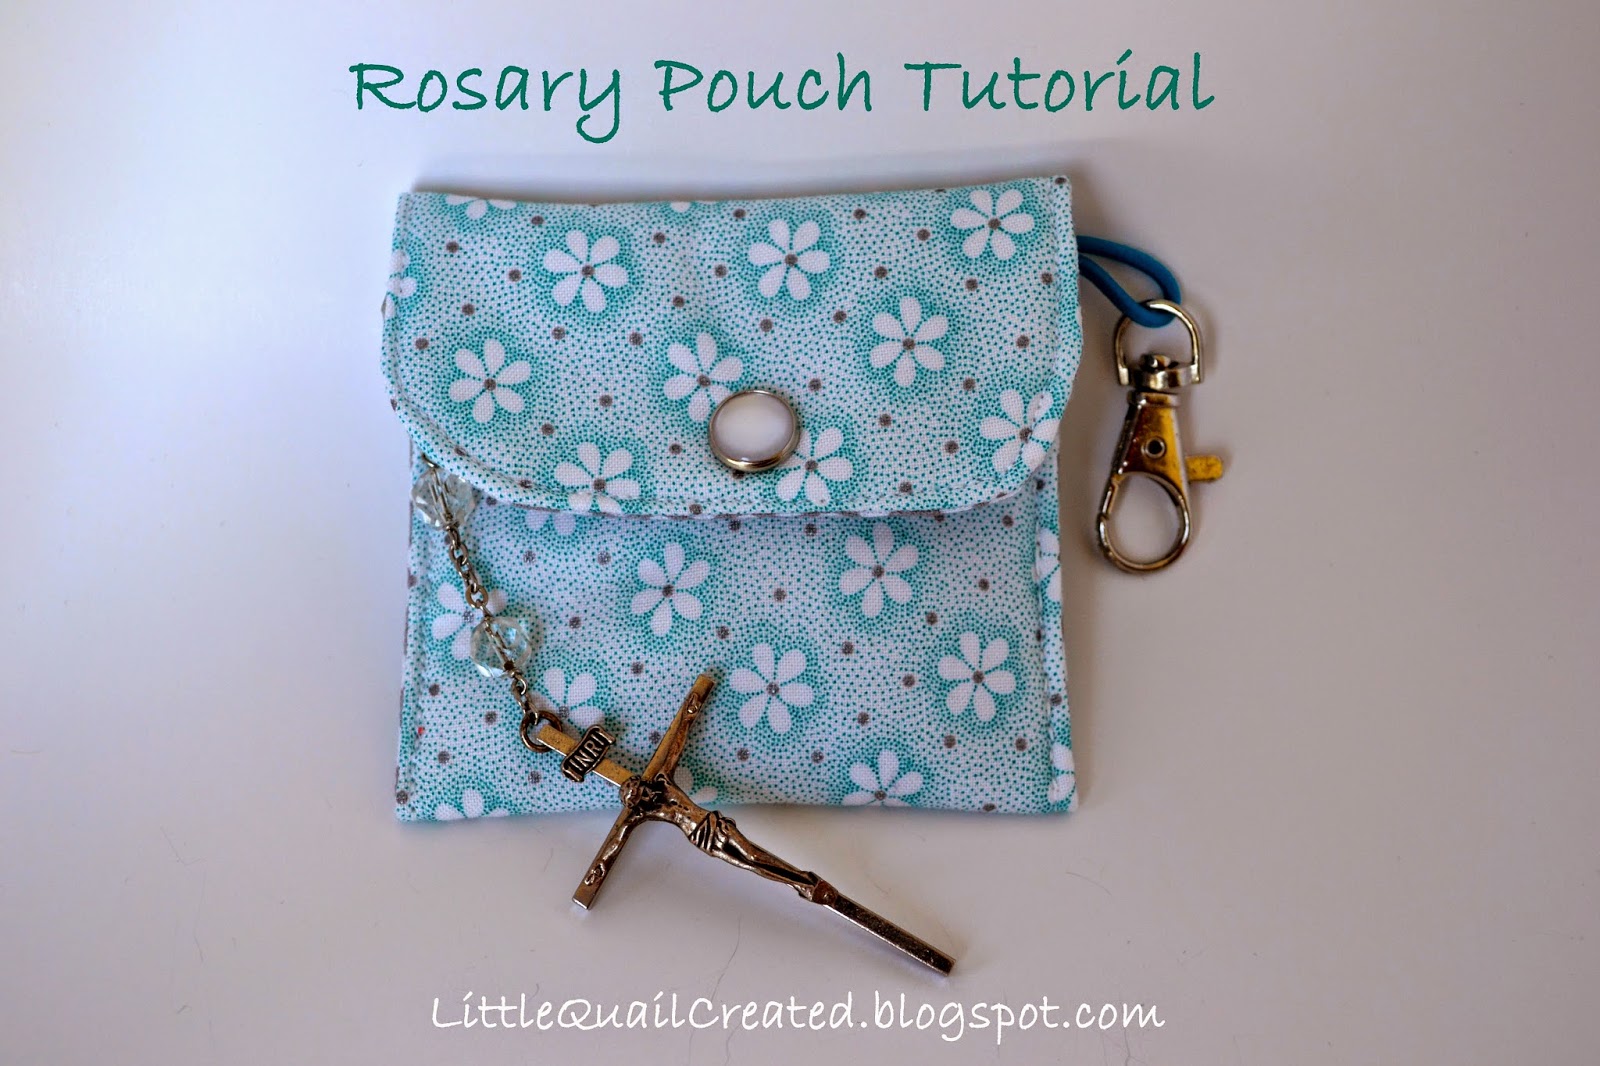
I have been making these rosary pouches by the dozen I thought I might share how to make one too. I really like the double pocket pouch but I know many people typically own just the traditional rosary. So I have dedicated more of my time to the single pocket pouch. I have also added a little clasp to the pouch so it can be attached to a bible cover, a study bag or anything else you would like. But if you don't want a clasp you can just skip that part.

Rosary Pouch (Single Pocket)

Tools:
Cutting Tool (Scissors or Rotary Cutter with Mat)
Iron (and ironing surface)
Straight Pins
Fabric Pen (I like to use the FriXion Pen by Pilot. It disappears with heat.)
Sewing Machine
Handle Needle
Hammer


Supplies:
Less than 1/4 of a yard of fabric (two that coordinate is always fun)
Less than 1/4 of a yard of fusible fleece (I used Pellon 987F)
Coordinating Thread (all purposes 100% polyester works well for this)
1 Swivel Clasp - 1 3/8"x1/2" (The ones I use can be found here)
1" of Elastic cord
1 Snap Fastener (I used the Dritz Pearl found here)
(I use hair ties for the elastic cord. They come in so many fun colors)
1. Cut fabric and fleece. 
2. Fuse fleece to the the wrong side of the main fabric according to the manufacturers instructions.
3. Round the corners to one end of that will be used as the pouch flap. (shown below - I used a shot glass to determine the roundness of the corners)
4. Thread the elastic cord through the swivel clasp and pin it in place 2 1 /2" down from the flap end of the main fabric (the rounded end - like shown below)
5. With a handle needle and thread baste stitch the cord in place about 1/8" from the edge. (I did mine with hot pink thread, shown below)
6. With main fabric and lining fronts facing each other, sew around the edge using a 1/4" seam allowance. Leave an opening large enough to turn it right side out. About 2".
7. Trim the two square corners and turn right side out. 
8. Press with the the iron. Take care to make sure that the opening is turned to the inside and looks even with the rest of the pouch.
9. Top stitch all the way around about 1/8 from the edge. This should close the opening used for turning.
10. Fold the squared edge up 3" so the lining is facing itself. Pin in place.
11. Hand stitch up both sides to create the pocket. I follow the top stitching on both sides and this keeps things looking nice and neat. This can be done on the sewing machine however I have found it difficult to be sure that both sides follow the top stitch line and doesn't look as neat.
All Done!
Now find the perfect bag to clip it too! I made this one to add to my Adoration Bag found here.
These are really simple to make and are a great gift. I have found that I can get 10 pouches out of 2 coordinating fat quarters and one package of snaps. That's the perfect amount for your bible study or an RCIA group.

Thanks for stopping by the nest!
Darla

Wednesday, March 11, 2015

Double Pocket Rosary Pouch Tutorial and Pattern

I've made a few more of the double pocket rosary pouches this past week and I have made a revision to my original tutorial. Since I have been using the original and found that the way I bound the two pockets together on the sides not only doesn't look all that great but it doesn't allow much room for the two pockets. The revision takes longer but the results are much better I think.
So the changes I made are to step 9 of the original tutorial & pattern which were posted here. Instead of running these through the sewing machine I hand stitch down the side of each pocket separately. 
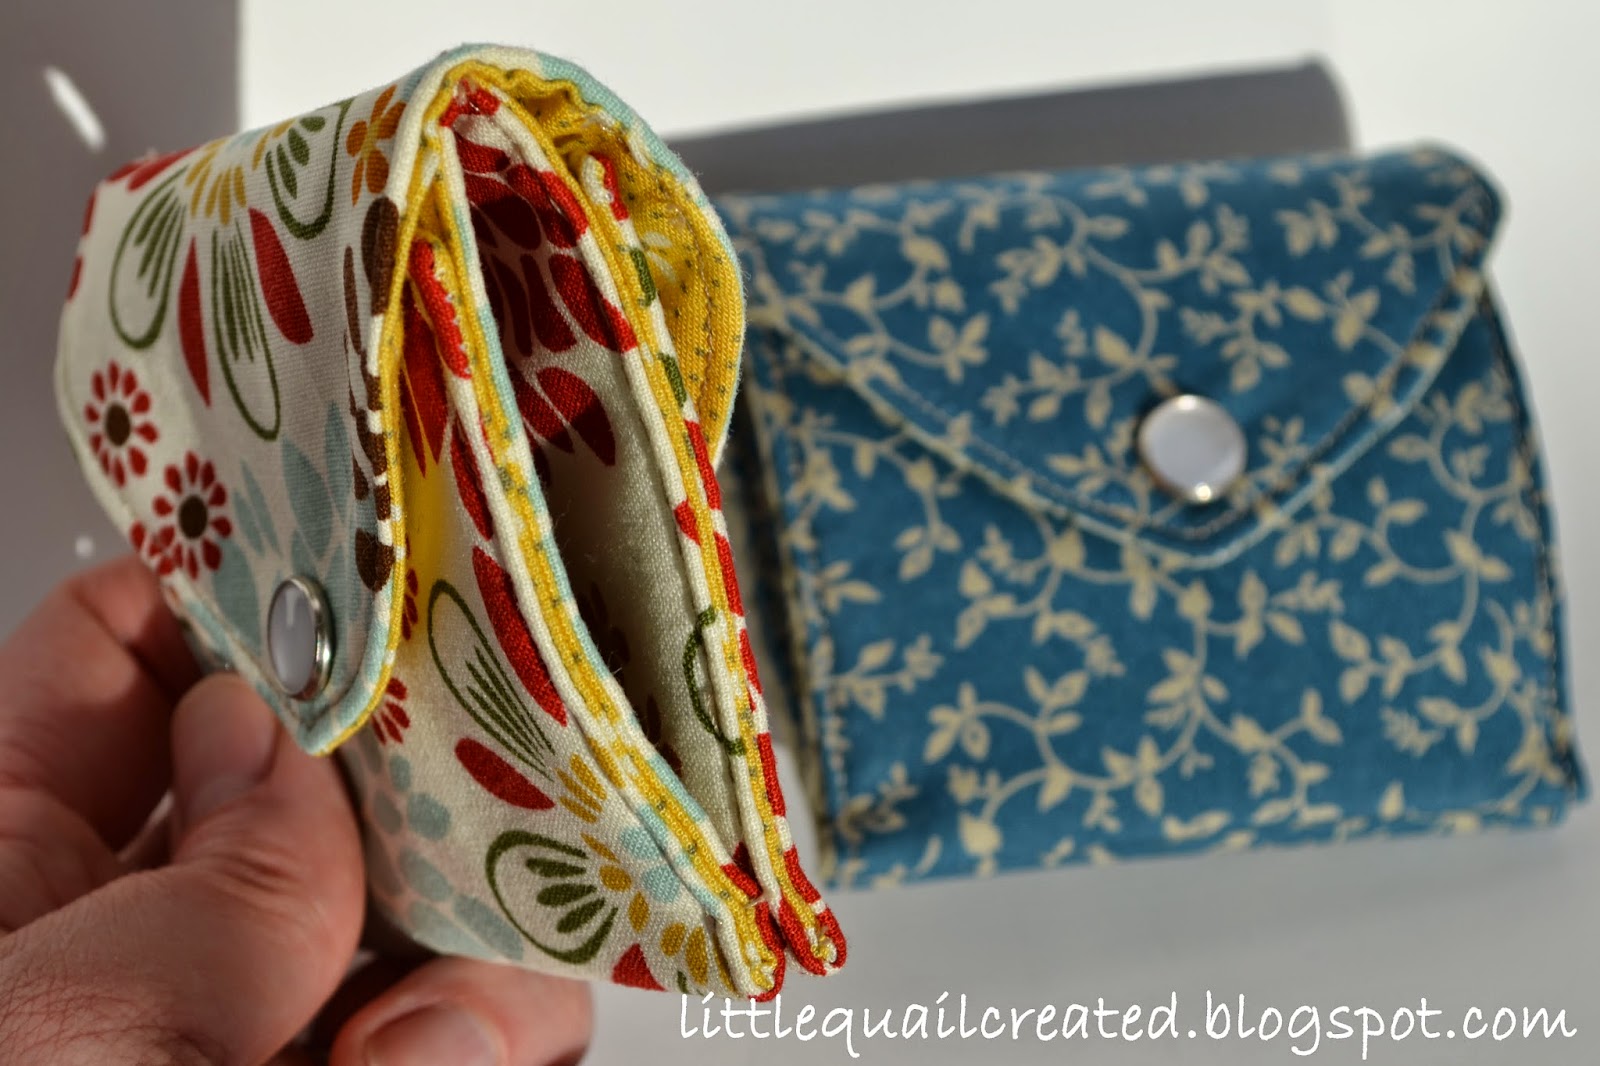
I know, four area's of hand stitching. I think it is more that I am impatient than lazy that makes me groan when I think hand stitching (Patients - one of the many virtues that I need to work on this Lent.) But, as you can see in these pictures, this give both of the pocket more room to breathe. It may take more time to complete but the results are much better.
I haven't checked yet but I had the thought the other day that maybe some of my prayer cards could be slid between the two pockets. Hmmm.... a future project maybe? Oh, so many idea's so little time.
One of my friends asked if I planned on selling these. I didn't originally but I think I may. She made a good point that first communions and confirmations are just around the corner and the single pocket pouch would make a nice little gift. So I have put together some coordinating fabrics for girl version but I am struggling with boy ones. I know the cross and fish fabric would work for boys & girls but maybe light denim and camo would work for a little variety. I'll have to get some boy's opinions on this one. Maybe I will have something to show you in a week.

Thanks for stopping bu the nest!
Darla

Friday, February 20, 2015

Dance Bag

This past summer my little Hannah started taking Tot Dance, It's too cute with all the little girls dressed in their pink leotards. As the weather has turned cold I have had more to lug around then just a pair of tiny dance shoe's. I felt like every time we went I we were taking up a ton of space with the coat, hat, scarf, mittens, shirt, pants, socks and outside shoes she had to strip off when we got there and no way to keep it all together. It's no surprise every week I hear some one asking if anyone noticed something they may have left behind. 
My solution to the problem a bag just for dance. It helps to keep her stuff together at class and helps to keep her shoe in one place when we are home. No more last minute searching. Hannah calls it her tutu bag. I think it is a pretty good description of this bag. I started making these bags for Halloween (see here) and had a friend request a larger non Halloween-y version be made for a Christmas gift to her Mom. I really wish I had taken pictures of that bag it was in earth tones and soft greens, so pretty. Since I did that I see all sorts of fabrics working great in this style. 
I have a bunch of these bags in a variety of colors that plan on putting together. If you are interested check back and I will have them posted to sell or send me an email if you would like to have one made custom.

Thanks for stopping by the nest!
Darla

Friday, February 13, 2015

KCW Winter 2015 - T-Shirt Dresses

Kids Clothes Week has come and gone. I managed to complete three items this week. Two of which are t-shirt dresses. I am really surprise by the response I get when ever I make these. They seem to have that nice balance between comfortable, girly and dressed up. My daughter really enjoy's wearing them and I enjoy making them. However, these two are for other little girls whom I hope get hours of spin time out of them. 
I've been asked recently where I get my fabric. Most of it comes from my local Hobby Lobby and Joann Fabrics. Some come from on-line retailers like Fabric.com. For these dresses all the fabric came from Hobby Lobby. I find I like the quality of most of their fabrics. They don't have a huge selection but what they do is usually really pretty, like this light teal and lavender print. 
I have also received numerous email's requesting the patterns for the four different styles I make. I have been waffling back and forth on that one for sometime and finally decided that I should do that. I'm not sure when or how it will be available but I am working on it. If anyone is interested in doing pattern testing send me an email and I will add you to the list. I sell the dresses 18 months to 5T so that will probably be the same range of my patterns.
I am sure there is a good number of sewist who have no problem reproducing these dresses by doing some basic calculations. But for those not interested in doing the math I can understand why you would like a pattern. 
As I contemplate creating patterns for these dresses there are so many possibilities on how to use these basic skirt patterns. They can be added to virtually any bodice (pre-made or handmade) or a standalone skirt. And lets not forget the embellishment possibilities.
Again, if you are interested in doing pattern testing for the t-shirt dress patterns send me an email or leave me a comment with your email address.

Thanks for stopping by the nest!
Darla

Friday, January 30, 2015

Holiday Dresses

So here I am taking about the holiday dresses when it is almost February. Shameful I know but I just won't feel caught up unless I get these posted.

I originally posted about Hannah's Thanksgiving dress here but didn't have the pictures of her in it at the the time. Seems I am very behind in all things again. Sometime in this life time I hope to be more timely. I've been told once my kiddo's are in full time school I'll be able to reclaim some time. I sure hope they are right.
Over the holiday's I was discussing with a friend how difficult it is to find long sleeve dresses for the holiday's. Seems like an odd thing to me that there aren't more. Because of this I gravitate to the sweater dresses (that are surprisingly short sleeve too)  that can be layered. I'm a crazy Mom who thinks her daughter should be warm during winter even if it's a special occasion.
I would have loved to make a more formal dress with long sleeves but it just wasn't in the cards between the typical holiday bluster, sicknesses and completing orders for others. Maybe next year I can plan better
At the last minute I put together more yo yo's (something nice to do while relaxing on the couch in the evenings) and attached them to some FOE (fold over elastic) I had on hand for a matching headband. I have to say the FOE is perfect for headbands, it is soft and has a nice gentle give. Hannah calls it her princess crown.


I realized when I went to put together a quick Christmas dress for Hannah that I have never made a tiered dress for her. I've made gobs of  tiered dresses for others and a few circle skirt dresses for Hannah but never a tiered one. 
I thought it was time to give her one. I have been hording Christmas fabrics over the years only buying the ones I really like (which there is usually only one of each year). I hope to quilt together some for stockings and tree skirt some day but this year I felt that this dress was worthy of depleting some of my stock. 
In the end I really wasn't disappointed not the having the shiny satin or velvet dress this year. Hannah loved it in all it's simplicity and I loved that she could wear it all Christmas Day comfortably. 
By the end of Christmas day it was well worn, covered in chocolate and what ever else she got in to that day. I tossed it in the washer with all the other clothes, no added steps and it came out like new. I did make her a matching yo yo headband to go with this dress too. It however, didn't fair as well. Her brother was using it like a rubber band to get a rise out of her (successfully) and one of the yo yo came undone.  Ah, sibling love : )
Oh I forgot to mentioned, the middle layer is sparkly. That made it all the more princess-y in her eyes.

It's a bit late but I hope you all had a blessed Christmas!

Thanks for stopping by the nest.
Darla

Wednesday, November 26, 2014

Thanksgiving Dress

I don't know about you guys but my family has been fighting off sicknesses left and right. I am just now getting over pneumonia. Nothing worse than a busy Mom being in bed for a week. Thank the heavens for a good husband. Sadly, it has put a delay on all things creative for a while. Fortunately, my family seems to be getting past everything so I have been able to start getting in the swing of things again. Just in time for the holidays.

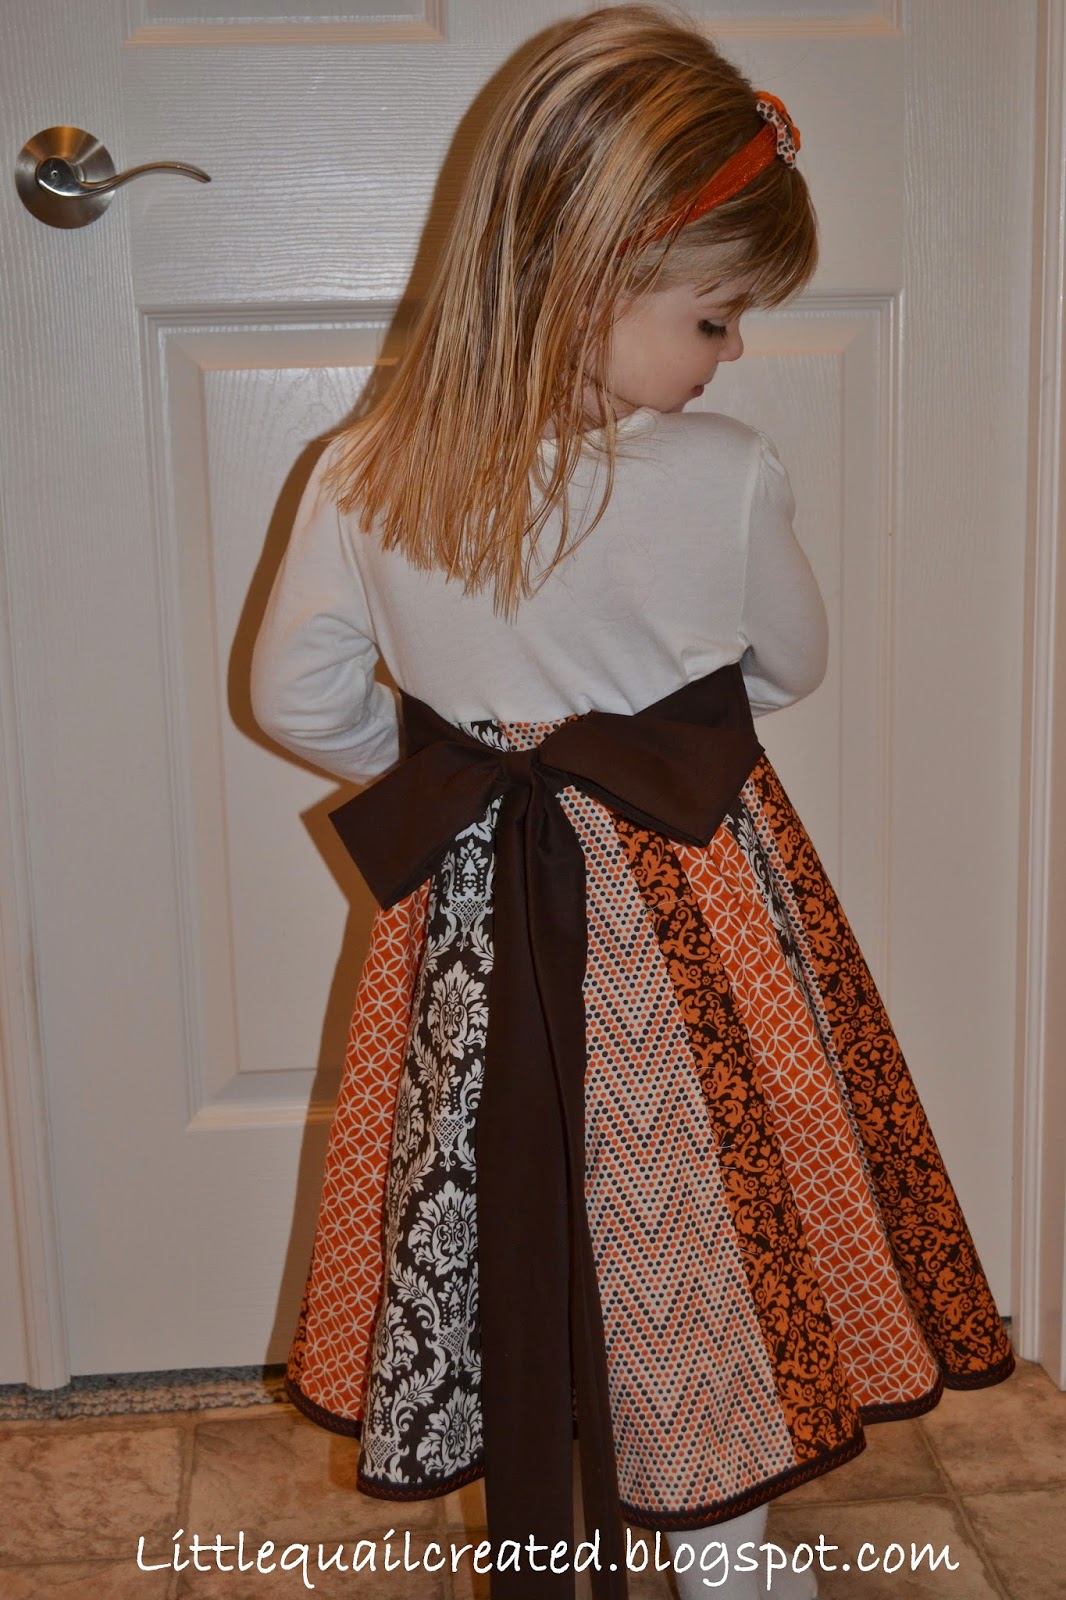
Now that I am healthy again made Fall inspired paneled circle skirt dress. It's perfect for Thanksgiving. I have made this style before here. Like most sewist I have a bit of an addiction to fabrics and all of the glorious designs & patterns they come in. This dress uses four of those glorious fabrics. 

It's a full circle skirt so it has a lot a spin to it. Hannah has been pestering me to wear it every time she sees it. I am making her wait till Thanksgiving Day though.


As I pointed out in my last sewing post I have a new obsession with Yo-Yo's. I really liked how it worked out for the last dress I made for Hannah and it incorporates more of those fabrics I love so much so I couldn't resist.


I learned my lesson though, Yo-yo's don't wash well. This time I attached it to a hair clip so it can be removed for washing and bonus it can be clipped anywhere including her hair. 

I decided to add a little something extra this time. A simple zigzag stitch in contrasting thread on the skirt trim. When I think of Fall I think of zigzags for some reason. Must be jack-o-lantern mouths, scarecrows or something. I love how it turned out. I need to get familiar with my decorative stitches on my machine and start adding more accents like this to my projects.

Since we live in Ohio State Buckeye country I have been requested to make this dress in scarlet and grey for an OSU inspired dress. I have collected the fabrics and I'm looking forward to making it. I will post pictures when it is done.

Thanks for stopping by the nest.
Happy Thanksgiving!

Darla

Saturday, November 1, 2014

Trick-Or-Treat Bags

I'm a little ridiculous for all things fall. So when an opportunity presents itself to combine the two things, crafting and fall, I get a little giddy and tend to go over board. A couple years ago I made Samuel and Hannah trick-or-treat bags that received rave reviews. This year I decided to make a ton and sell them. I did pretty good and enjoyed the process as well. Both bags were originally inspired by Pinterest but I added some special details that my original bags are lacking. 

The first and my favorite is the ruffle bag. Its built on basic canvas bag. I add a ton of ruffles, a lining and a coordinating yo yo or bow. 
I have become a little yo yo obsessed now that I know how easy they are to make and I love how they add that little something.


It took a little work but I figured out how to get the liner to work just right.


This a girly version of the simple boy bag I made for my son. I rather like the ruffle up, it has a tissue paper in a gift bag effect. The following two are a more basic ruffle.


These are what I call The Simple Boy Bag. They are sturdy bags. My son literally drug his around the neighborhood through puddles and mud. I have machine washed it twice and it still looks great.


I have a few bags left in a variety of different styles and fabrics. I figured I will add to my Etsy's shop for next year. If anyone is interested before the shop is open, send me an email at littlequailcreated@gmail.com.

Thanks for stopping by the nest!
Darla

Sunday, September 1, 2013

Little girls simple dress 4 way's

3/19/2016: UPDATE! Etsy's Shop is open and some of these dresses are still available.

It has been two weeks since I posted something and figured I should show you what I have been up to. I have been very busy designing and sewing. The tier twirly dress that I posted here had me completely inspired to make more. I came up with four different skirt designs (not including the original variation) for dresses that range in sizes 18 months - 5t. I have decided to make and sell these dresses. I haven’t set up an Etsy’s shop yet so for now just locally and to friends and family. 

The Tier Dress
This is a little more formal than the original twirly tier dress. All of the seams are hidden and I added a sash. The black and white above I used a wide gross grain ribbon for the sash and the two below I used a coordinating fabric. The flowers on all three are clips I made so they can be worn any where.

The Jelly Roll Dress
I had a quilters jelly roll in my stash that I was dying to put to use. This dress is not as formal and makes a great everyday dress. The flower is a clip too.

 The Circle Skirt Dress
This is by far my favorite of the dresses. It was so simple to put together once you figure out how to do circle skirt calculations. It does take a lot of fabric but I think it is worth it. This is the ultimate twirl dress.

I tried something new when tying this sash. I wanted the tie in the front but still wanted a clip flower so I had my husband tie the sash like a neck tie. This is a fantastic option. I really like the fact that it can be loosed and tightened with out having take it apart. No wrestling with the kid to tie a sash right. 

The Paneled Circle Skirt
I took the circle skirt pattern I made for the last dress and divided it in to panels. This dress is amazing when it is twirled. 


There is a fifth skirt design that I am working on for little Ohio State Buckeye dresses. I am really excited about that one. I will post it as soon as it is done. 

Since I am making these to sell I don’t plan on posting my measurements and patterns, sorry. If you are interested in purchasing one for now contact me at littlequailcreated@gmail.com and we can make arrangements.  Check out the shop!

Thanks for stopping by the nest!

Darla