Showing posts with label Tutorial. Show all posts

Sunday, March 22, 2015

Lenten Sewing - Adoration Bag Tutorial

When I go to Mass I take nothing but the absolute necessities; no purse, no phone. They only act as a distraction from what I am really there for. So for the same reason, the first time I went to Eucharistic Adoration I took nothing. I sat in the presence of Christ and relied on spontaneous prayer and lots of random thoughts, some not always so prayerful. Following that I always went with my rosary, this helped me better channel my thoughts. Currently, I have taken to journaling with scripture reading using an awesome book my cousin had gotten me a few years ago called The Better Part: A Christ-Centered Resource for Personal Prayer by Fr John Bartunek. This has really improved the time I spend with Christ. However, now that I have two books, a pen, a rosary and my car keys I find my entrance and exit church to be a little sloppy and sometime noisy (since I have become a Mom I have become very klutzy. Anyone else have that problem?) So my solution is a bag that is just big enough to fit what I need. I figured if it has extra room I am likely to fill that space with stuff that will ultimately be a distraction.
I was inspired by a messenger bag found hereI really liked the ruffles (a girl can never have too many ruffles) and the shape was what I was picturing. However,  I didn't follow the tutorial mainly because I don't do well with using the metric system. As soon as I got to the part where the fabric cuts were I just stopped. Call it lazy or stubborn I just can't seem to get the hang of metric measurements. So instead of trying to figure it out I just determined what size bag I needed and how I wanted it to function.  
I made several changes to suit my needs  so I put together a tutorial on how I made my version for anyone else who would like to make one. The bag holds a book stack 9" x 11"x  2.5" plus a little pocket great for prayer cards. I also have included the single rosary pouch tutorial found here which accompanies this bag nicely.

Adoration Bag

Tools Needed: 
Cutting Tool (Scissors or Rotary Cutter with Mat)
Iron (and ironing surface)
Straight Pins
Fabric Pen (I like to use the FriXion Pen by Pilot. It disappears with heat.)
Sewing Machine (and a new machine needle. Universal/All Purpose size 12 works well for this.)
Grommet Pliers (One for 3/8" grommets)
Hand Needle

Supplies Needed:
3/4 Yard of Main Fabric (you may need more if it has a directional pattern)
1/4 Yard of Lining Fabric (you may need more if it has a directional pattern)
(I used 1/4 yard of the floral fabric, 1/2 yard of the dot fabric and 1/4 yard of the solid teal fabric)
1 Yard of Fusible Fleece (I use Pellon 987F)
Coordinating Thread (all purposes 100% polyester works well for this)
2 - Swivel Hooks - 2"long for a 7/8" strap (They can be found here)
2 - 3/8" Grommets (They can be found here)
(Sew-ology is the Hobby Lobby brand however these are easy to find by Dritz too)
Cuts:
Bag =  main fabric cut 2 11.5"x10.5" (I mixed mine up did 1 of the floral and 1 of the dot)
           lining fabric cut 2 11.5"x10.5"
           fusible fleece cut 2 11.5"x10.5"
Pocket = main fabric cut 1 7.5"x10.5"
             lining fabric cut 1 7.5"x10.5"
             fusible fleece cut 1 7.5"x10.5"
Flap =  main fabric cut 1 11.5"x7"
           lining fabric cut 1 11.5x7"
           fusible fleece cut 1 11.5x7"
Ruffle = main fabric cut 1 4"x42" (I used the entire width of fabric, salvage edge to salvage edge)
Strap = main fabric cut 1 4"x42" (this can be shortened or lengthened to a strap length you prefer)  
           fusible fleece cut 1 4"x42" (this can be shortened or lengthened to a strap length you prefer)
Strap Tabs = main fabric cut 2 4"x3" (I used the lining fabric for this)
                   fusible fleece cut 2 4"x3"
(Sorry, I had started putting together the bag before taking pictures. This is how things looked after step 4)
Seam allowances are 1/2" unless indicated otherwise.

1.After cutting out all the pieces fuse the fleece to the back of the main fabric pieces according to the manufacturer's instructions.
2. Take the flap main fabric and the flap lining piece and trace a bowl or a round object with about a 8 3/8" diameter for the slope of one of the corners. Cut the rounded corner. (The position of the rounded corner can be seen in the picture above)
3. Fold and press the ruffle piece in half long ways, wrong sides facing each other. Sew a gathering stitch 1/4" from the raw edge. Repeat with a second gathering stitch 5/8" from the raw edge.
4. Gently pull the both the bobbin threads to gather the fabric. keep adjusting the gathers till the entire length has been gathered to fit the sloped side of the main piece of the flap (like shown above)  Fold over the ends of the ruffle so they will be caught in the seam when sewn, Pin in place.
NOTE: Make sure the end that meets the side of the bag flap (the one that is closest to the bottom of the picture) is folded over leaving a 1/2" gap to account for the sides seam allowance.
5. Sew the ruffle in place. The stitch should run between the two gathering stitches. 
6. Lay the flap lining piece on top of the main fabric piece. This will create a sandwich with the the ruffle in the middle. Pin in place and sew down the side, the curve and back up the other side leaving the top open.
. 7. Trim the corner and remove the gathering stitches. Turn right side out and press.
8.Sew together the pocket pieces right sides facing. Turn right side out and press. Top stitch the seamed edge of the fabric 1/8".
9. Pin the pocket to the front of the main fabric bag piece making sure that the pocket pieces seamed side in sitting in the center of the bag piece. (as shown above) Baste stitch the pocket in place down the sides and across the bottom 1/4" from the raw edge.
10. Sew together the two main fabric bag pieces right sides facing. 
11. Sew together the two lining fabric bag pieces right sides facing. Be sure to leave an opening approximately 3" long to allow tuning the bag right side out. (shown above)
12. Press open the bag & lining side and bottom seams. 
13. To create the box corner, stand the bag on end and point and flatten the corner of the bag. Line up the bags bottom and side seams and measure across the corner 2 1/2". The seam should be in the center. The half way point of the measurement in this case 1 1/4". Use the fabric pen to mark the stitch line and pin the corner in place.  (Use the picture above for reference.) Repeat on the other corner.
14. Repeat the box corners on the bag lining.
15. Sew along the stitch line on all four box corners. I go back and forth 3 times and for extra strength I do the same with a zigzag stitch right next to it. then trim the corner. (See above)
16. Turn the main bag right side out and center the flap across the back the bag. Line up the raw edges of the bag and the flap right sides facing and zigzag stitch in place 1/4" from the raw edge. I go back and forth a couple times for extra strength.
17. Fold the strap piece in half long ways right sides facing and sew the 1/2" seam allowance down the raw edge. Be sure to back stitch at the ends they take a beating when they are turned.
18. Fold the 2 strap tab pieces in half lining up the raw edge of 3" side, right sides facing and sew the 1/2" seam allowance down the raw edge. 
19. Turn all three tubes right side out and press so the seam is on the side. I use tube turners like shown above. 
20. Fold the raw ends of the strap 1/2" inside of the tube. Press and pin to hold in place.
21. Thread the 2 strap tubes through each of the swivel hooks. Fold in half lining up the raw end of the tubes,
22. Center the strap tube raw edge over the bags side seam and pin in place right sides facing. Zigzag stitch in place. I go over it a couple times for extra strength. 
23. Slide the main bag inside the liner right sides facing. Make sure the strap tabs and flap and tucked between the two. Line up the side seams and pin in place. Sew all the way around the raw edge of the bag.
24. Pull the main bag piece through that 3" wide opening that was left that bottom of the bag lining. Tuck the lining in to the bag.
25. Iron the bag lining down inside the bag and top stitch 1/8" all the way around the top of the bag. 

26. Top stitch the strap 1/4" all the way around the edge. This will close the open ends of the strap.
27. Mark the placement of the grommet on the straps. 1 1/4" from all three sides should be center. Follow the instructions for the grommet pliers to install the grommet. The Dritz pliers I use will puncture the hole in the fabric and clamps the metal grommet in place.
 Clip the swivel hooks through the grommets and all done!
I love, love, love this bag!!!!! It is exactly what I wanted for my trips to adoration. It fits exactly what I need and nothing more.
The key ring for my car key even clips nicely to the straps swivel hook. No digging around for the car key at the bottom of the bag.
The fabrics are perfect they help set the peaceful tone. The floral fabric is Inspiration III - White 5233 by Blank Quilting I purchased from the Bear Creek Quilting Company. The gray dot in it is actually a metallic paint (pictures don't do it justice). Sadly, I can not find this one any more it looks like it was discontinued sometime last year. The gray dot is Spotty Negative found at Hobby Lobby and the teal solid is a basic cotton I picked up a few years ago and can't remember where. 
I made a matching single pocket rosary pouch with the little bit of fabric I had left. The tutorial for that can be found here.
It's the perfect accessory for this bag. The only thing I think would make this bag better is an adjustable strap. I'll have to ponder that one. Maybe an update for the future.
I hope get a lot of use out of this bag. Let me know if you make one too. I'd love to see your pictures. They can be posted to the flickr group here.

Next up Bible Study Bag and Bible Cover.

Thanks for stopping by the nest!
Darla

Saturday, March 21, 2015

Lenten Sewing - Single Pocket Rosary Pouch

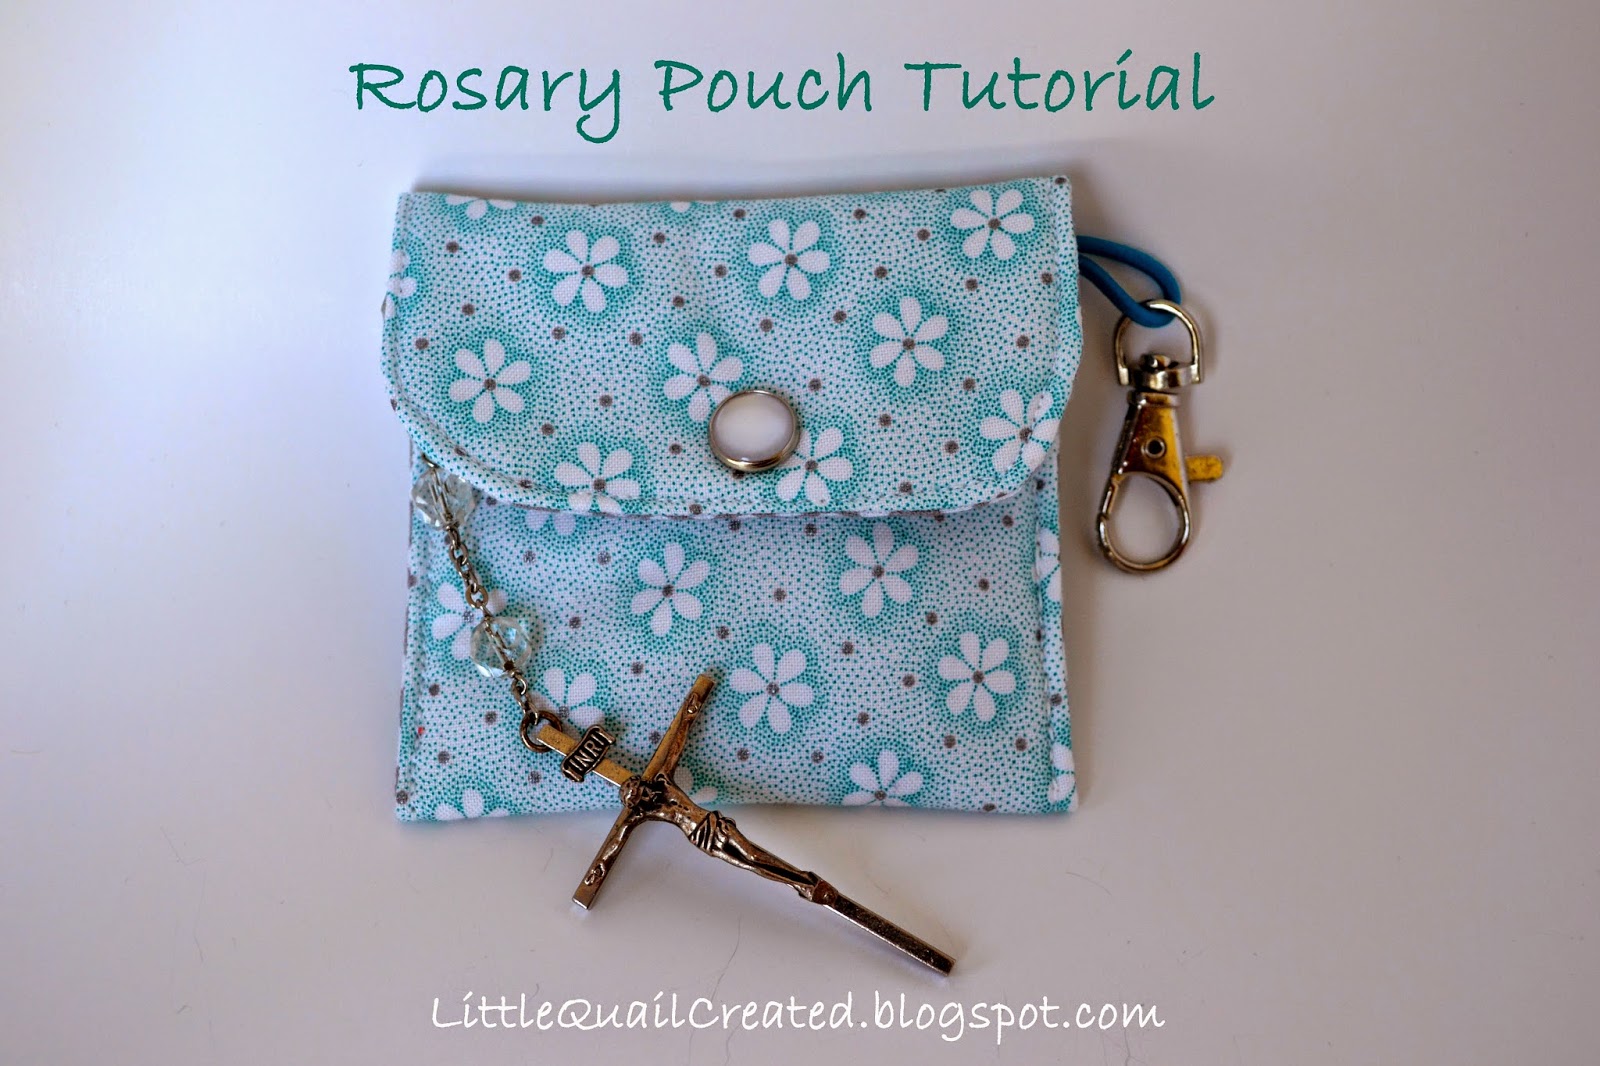
I have been making these rosary pouches by the dozen I thought I might share how to make one too. I really like the double pocket pouch but I know many people typically own just the traditional rosary. So I have dedicated more of my time to the single pocket pouch. I have also added a little clasp to the pouch so it can be attached to a bible cover, a study bag or anything else you would like. But if you don't want a clasp you can just skip that part.

Rosary Pouch (Single Pocket)

Tools:
Cutting Tool (Scissors or Rotary Cutter with Mat)
Iron (and ironing surface)
Straight Pins
Fabric Pen (I like to use the FriXion Pen by Pilot. It disappears with heat.)
Sewing Machine
Handle Needle
Hammer


Supplies:
Less than 1/4 of a yard of fabric (two that coordinate is always fun)
Less than 1/4 of a yard of fusible fleece (I used Pellon 987F)
Coordinating Thread (all purposes 100% polyester works well for this)
1 Swivel Clasp - 1 3/8"x1/2" (The ones I use can be found here)
1" of Elastic cord
1 Snap Fastener (I used the Dritz Pearl found here)
(I use hair ties for the elastic cord. They come in so many fun colors)
1. Cut fabric and fleece. 
2. Fuse fleece to the the wrong side of the main fabric according to the manufacturers instructions.
3. Round the corners to one end of that will be used as the pouch flap. (shown below - I used a shot glass to determine the roundness of the corners)
4. Thread the elastic cord through the swivel clasp and pin it in place 2 1 /2" down from the flap end of the main fabric (the rounded end - like shown below)
5. With a handle needle and thread baste stitch the cord in place about 1/8" from the edge. (I did mine with hot pink thread, shown below)
6. With main fabric and lining fronts facing each other, sew around the edge using a 1/4" seam allowance. Leave an opening large enough to turn it right side out. About 2".
7. Trim the two square corners and turn right side out. 
8. Press with the the iron. Take care to make sure that the opening is turned to the inside and looks even with the rest of the pouch.
9. Top stitch all the way around about 1/8 from the edge. This should close the opening used for turning.
10. Fold the squared edge up 3" so the lining is facing itself. Pin in place.
11. Hand stitch up both sides to create the pocket. I follow the top stitching on both sides and this keeps things looking nice and neat. This can be done on the sewing machine however I have found it difficult to be sure that both sides follow the top stitch line and doesn't look as neat.
All Done!
Now find the perfect bag to clip it too! I made this one to add to my Adoration Bag found here.
These are really simple to make and are a great gift. I have found that I can get 10 pouches out of 2 coordinating fat quarters and one package of snaps. That's the perfect amount for your bible study or an RCIA group.

Thanks for stopping by the nest!
Darla
Wednesday, March 11, 2015

Double Pocket Rosary Pouch Tutorial and Pattern

I've made a few more of the double pocket rosary pouches this past week and I have made a revision to my original tutorial. Since I have been using the original and found that the way I bound the two pockets together on the sides not only doesn't look all that great but it doesn't allow much room for the two pockets. The revision takes longer but the results are much better I think.
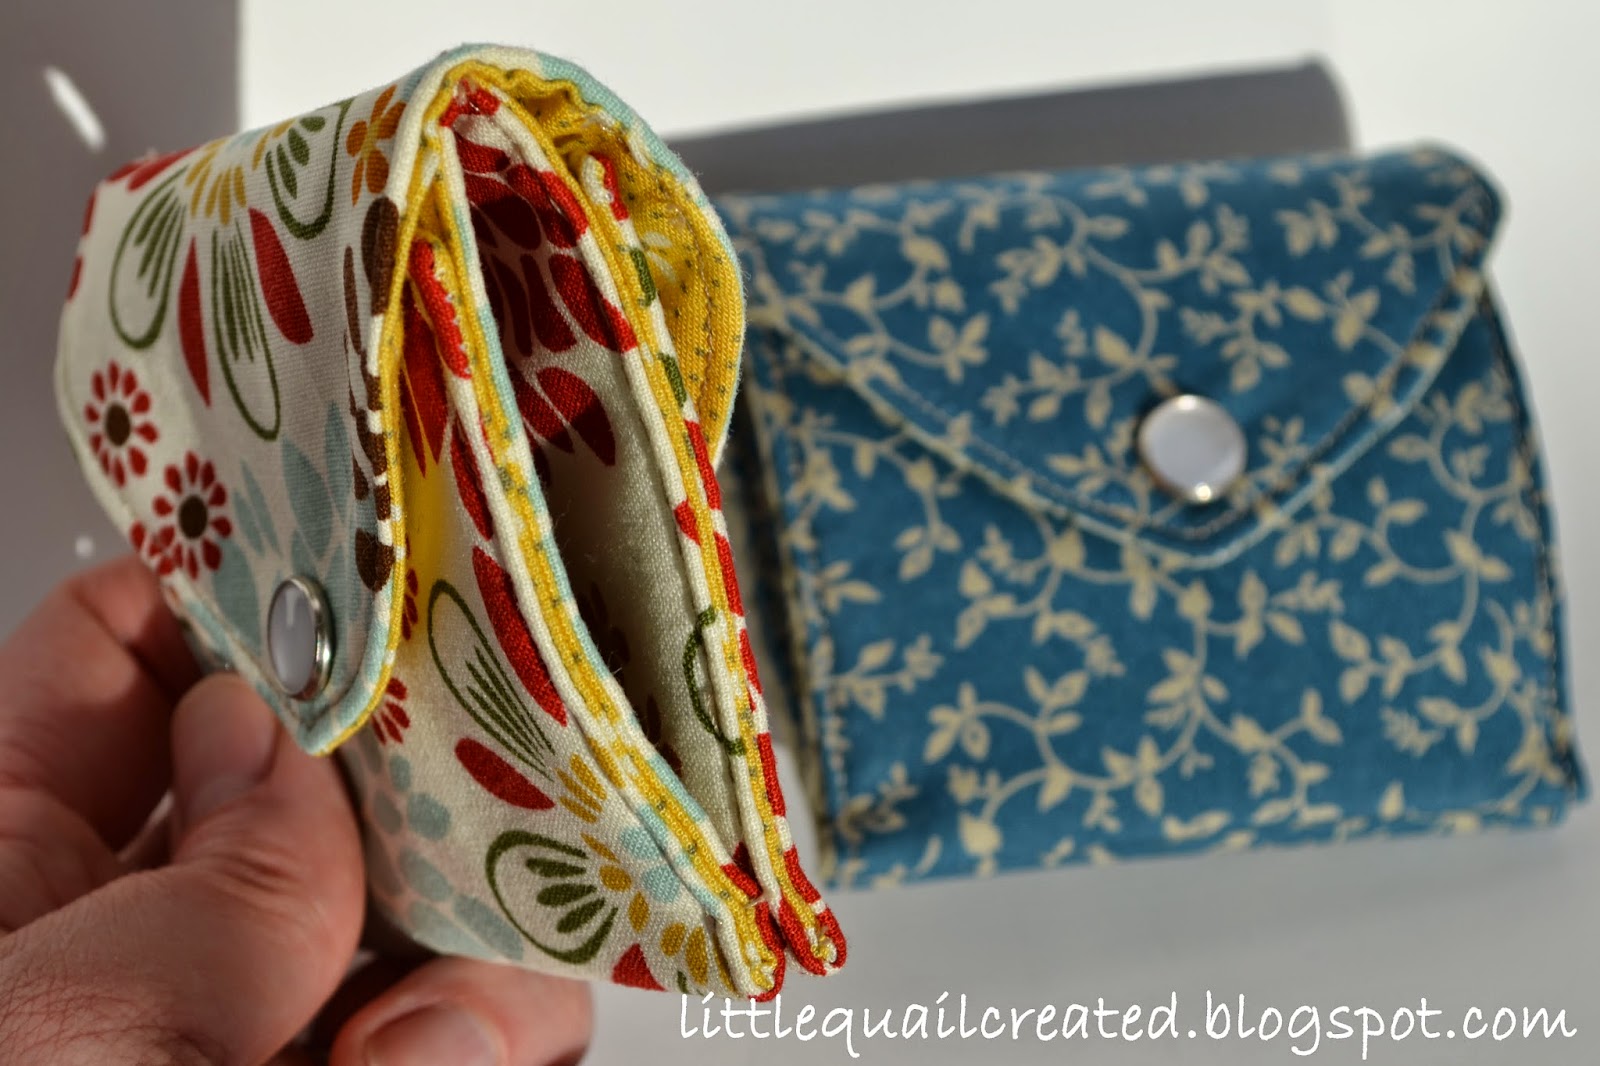
So the changes I made are to step 9 of the original tutorial & pattern which were posted here. Instead of running these through the sewing machine I hand stitch down the side of each pocket separately. 
I know, four area's of hand stitching. I think it is more that I am impatient than lazy that makes me groan when I think hand stitching (Patients - one of the many virtues that I need to work on this Lent.) But, as you can see in these pictures, this give both of the pocket more room to breathe. It may take more time to complete but the results are much better.
I haven't checked yet but I had the thought the other day that maybe some of my prayer cards could be slid between the two pockets. Hmmm.... a future project maybe? Oh, so many idea's so little time.
One of my friends asked if I planned on selling these. I didn't originally but I think I may. She made a good point that first communions and confirmations are just around the corner and the single pocket pouch would make a nice little gift. So I have put together some coordinating fabrics for girl version but I am struggling with boy ones. I know the cross and fish fabric would work for boys & girls but maybe light denim and camo would work for a little variety. I'll have to get some boy's opinions on this one. Maybe I will have something to show you in a week.

Thanks for stopping bu the nest!
Darla

Sunday, March 1, 2015

Lenten Sewing - Rosary Pouches with Tutorial


Every Advent and Lent we try to pray the rosary as a family daily. Since most of us are 5 years and under we do the best that we can. It's usually a little nutty; we have to take pauses to stop arguments and sooth tears. Just like Sunday mass I believe that these habits will leave lasting effects on my kids. Plus, as parents, I think we are given a little penitential credit for our suffering through : )

Over the past few years my husband has asked me to make him a little pouch for his rosary and sadly something has always come before it. This is not the only project like this I need to do or have started by not completed. I am hoping this Lent to complete these projects. I am thinking one every week:

Rosary Pouch a single and a double (I'll explain that more in a bit)
Bible Study Bag
Adoration/Prayer Bag
Bible Cover

And somewhere in the middle I need to make Hannah's Easter dress.

I have three "tools" I use to pray the rosary, my traditional 5 deck rosary beads, the Laudate phone app (which is totally awesome! Check it out here, its free!) and my seven sorrows rosary. Of course tools of any kind are not necessary to pray the rosary; you can use your fingers or toes if you want. With my chaotic life I find its is easier for me to use the beads especially for the seven sorrows since it doesn't follow the same 5 deck/10 bead path.

Some of you may be scratching your heads wondering what I am talking about, seven sorrows rosary. I am always surprised how many people are not familiar with Our Lady of Kibeho Marian apparition's in Rwanda. I have even run in to those who follow the call to religious life who have not hear of this Vatican approved Marian apparition. The seven sorrows rosary is not new, Our Lady just brought it back to life during her visits to Kibeho in the 1980's.

I became familiar with it after reading Our Lady of Kibeho book by Immaculée Ilibagiza who is a survivor of the 1994 genocide in Rwanda, which Our Lady had foretold in the 1980's. (She also wrote Left to Tell which goes in to greater detail of her experience during the genocide. Both would be great Lenten reads)

The book provides a nice visual as to how to pray the seven sorrows and you can buy the seven sorrows rosary beads on Immaculée website (I have also seen them in my local Catholic bookstores.) I was lucky to pick mine up during a retreat with Immaculée a couple years ago. I've been out looking for the nice visual version on the Internet but wasn't able to find it. There are a ton of websites out there that provide you with what you need to know to pray it like this one here.

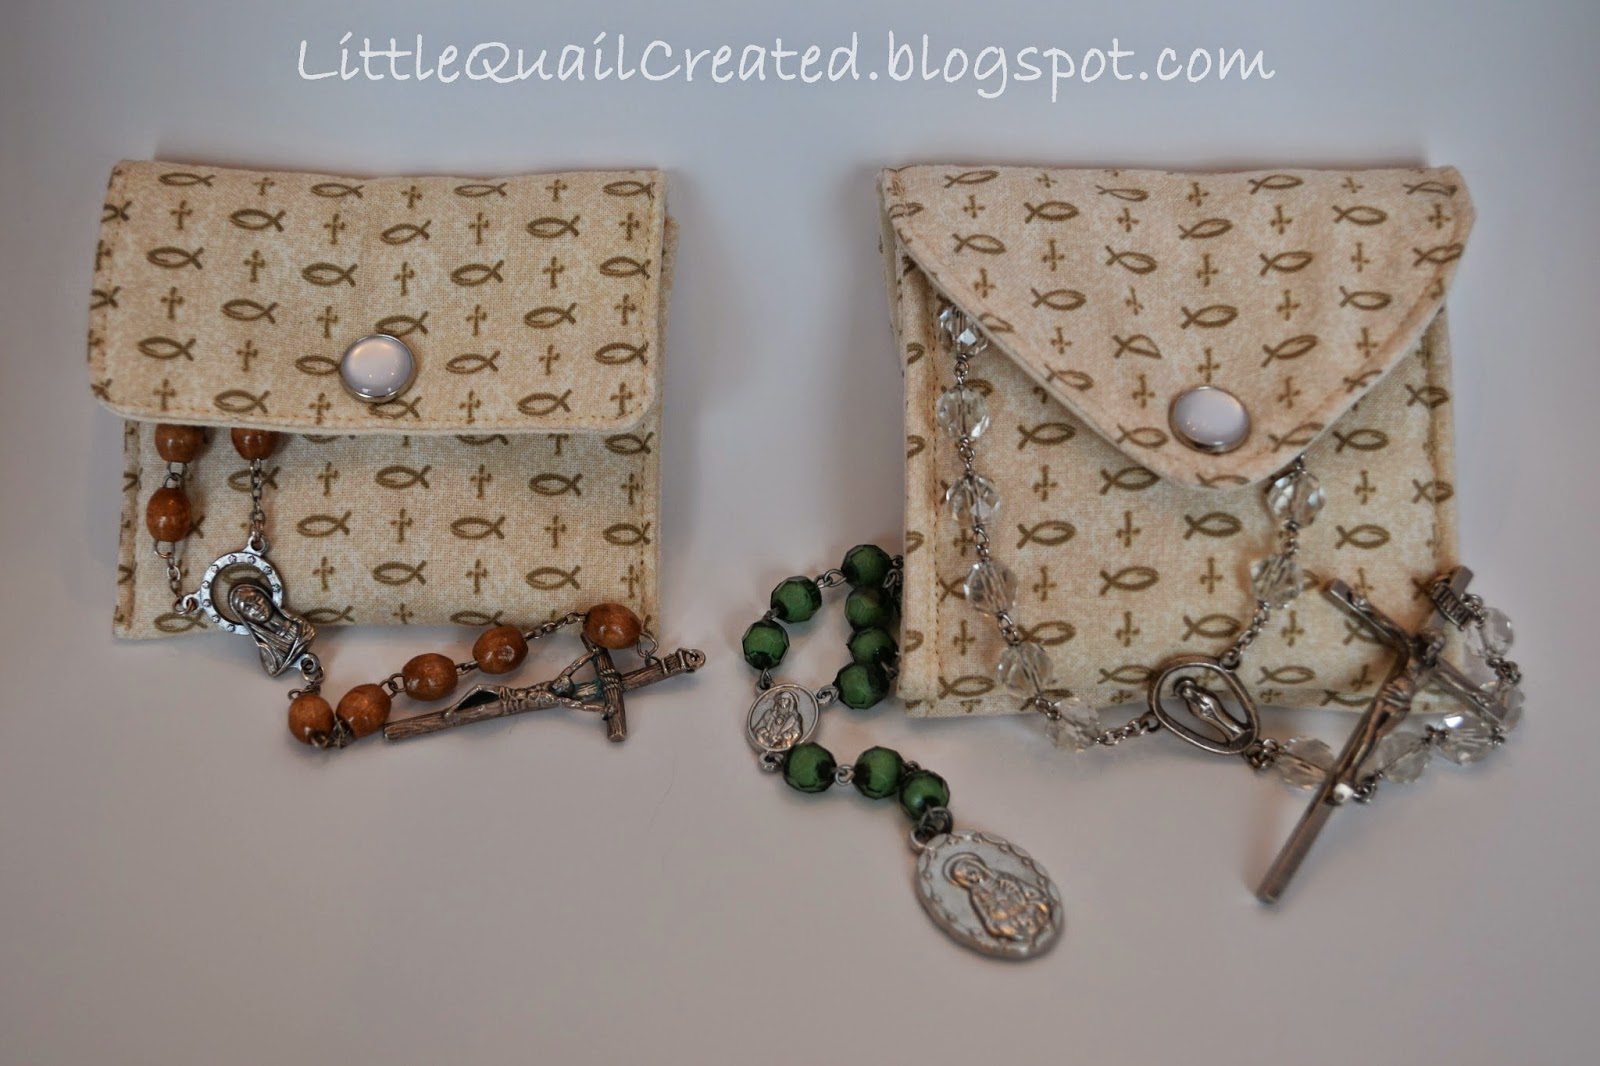
Since I have the two rosary's I would like to keep them together so I am not having to hunt for one or the other. I have tried keeping them together in the same pouch but they have gotten tangled. My solution is a double pouch.

I have put together a pattern and a picture tutorial to make the double rosary pouch tutorial. Even though I made both the single and double pouches I figured that the double pouch is worthy of the tutorial since it is unique and a bit more involved. If you are interested in information on the single pouch leave me a comment or send me a message.


***Revised on March 11, 2015***


Double Rosary Pouch Tutorial 

Supplies:
1/4 yard of outer fabric (1/2 yard if your fabric has a directional pattern)
1/4 yard of lining fabric
1/4 yard of fusible fleece
2 - 1/2" snaps
Coordinating thread
Flap Patterns(found here)

1.Cut out the fabric and fleece:
2. Fuse the fleece to the wrong side of the outer fabric for the pocket piece and the flap piece.3. With the right sides of the outer and lining fabric facing for both the pocket piece and the flap piece stitch all the way around leaving open a section for turning right side out.
4. Turn right side out, press and top stitch:
5.Mark the stitch lines to connect the flap piece to the pocket piece:

6. Pin together and sew:
7. Mark the stitch line to connect the two pockets and sew (don't forget to back stitch):8. Fold up the pocket fronts and pin in place:9. Hand stitch down the sides of each of the pockets separately. This will leave an opening or tunnel between the two pockets providing more room for each pocket when it is filled.
10. Install the snaps:
All Done!
The Cross and Fish fabric is by Cranston Village purchased at Hobby Lobby a couple years ago so it may not be available and the lining is a basic natural muslin which is available at most fabric shops.

I didn't go into great detail on this project because it is very simple and only takes about 30 minutes to complete. If you have any questions please leave me a comment or send me a message and I will do my best to respond as prompt as possible.

Remember prayers are always answered it just may not be how or when you expected it.

Thanks for stopping by the nest!
Darla