Sunday, June 30, 2013

Gathered Pocket Shorts Tutorial and Pattern


Well I finally did it. I managed to get the tutorial completed that I promised a week ago here. Really, that is the easy part. It's the pattern that was a pain. I had no idea how difficult it was to put a simple hand drawn pattern on a blog. Congratulations to all those have done this. I have a new appreciation of all your hard work. 

Regardless of my reasoning I am sorry that this has been delayed. I hope you like the pattern and my instructions are easy to follow. 

To download the 2T pattern click here. Print it*. Match up the shorts front on page 1 & 2 and the shorts back on page 3 & 4. Tape it together and cut it out. 

*Note: I have a MacBook and found it impossible to print right using the Preview Software. It is best to use adobe reader. Be sure to turn off the scaling when you print.

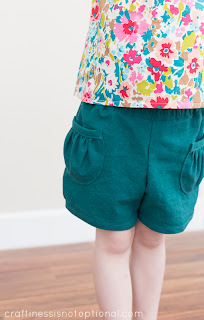
You might find the shape of the pattern to be usual. The back of the shorts have a high sweep up. I did this to get better coverage of my little one's bottom. I have had problems when making shorts & pants using patterns that have the same front as the back. I don't know about you but my front is definitely not the same as my back. I don't understand why this is done for little ones since you have a diaper that clothes need to fit over. That being said you should not have any issues with your child bending over and their shorts sliding down unless your elastic is too loose.

MATERIALS
1/2 - 3/4 yard (depending on width) of fabric, pretty much any light weight cotton will work 
3/4" wide no roll elastic, approximately 20".
15" twill tape (you can skip the fake draw string if you prefer)
coordinating thread
basic sewing notions
serger helpful but not necessary.

SEAM ALLOWANCE 
1/4" unless stated differently in the instructions.

TUTORIAL
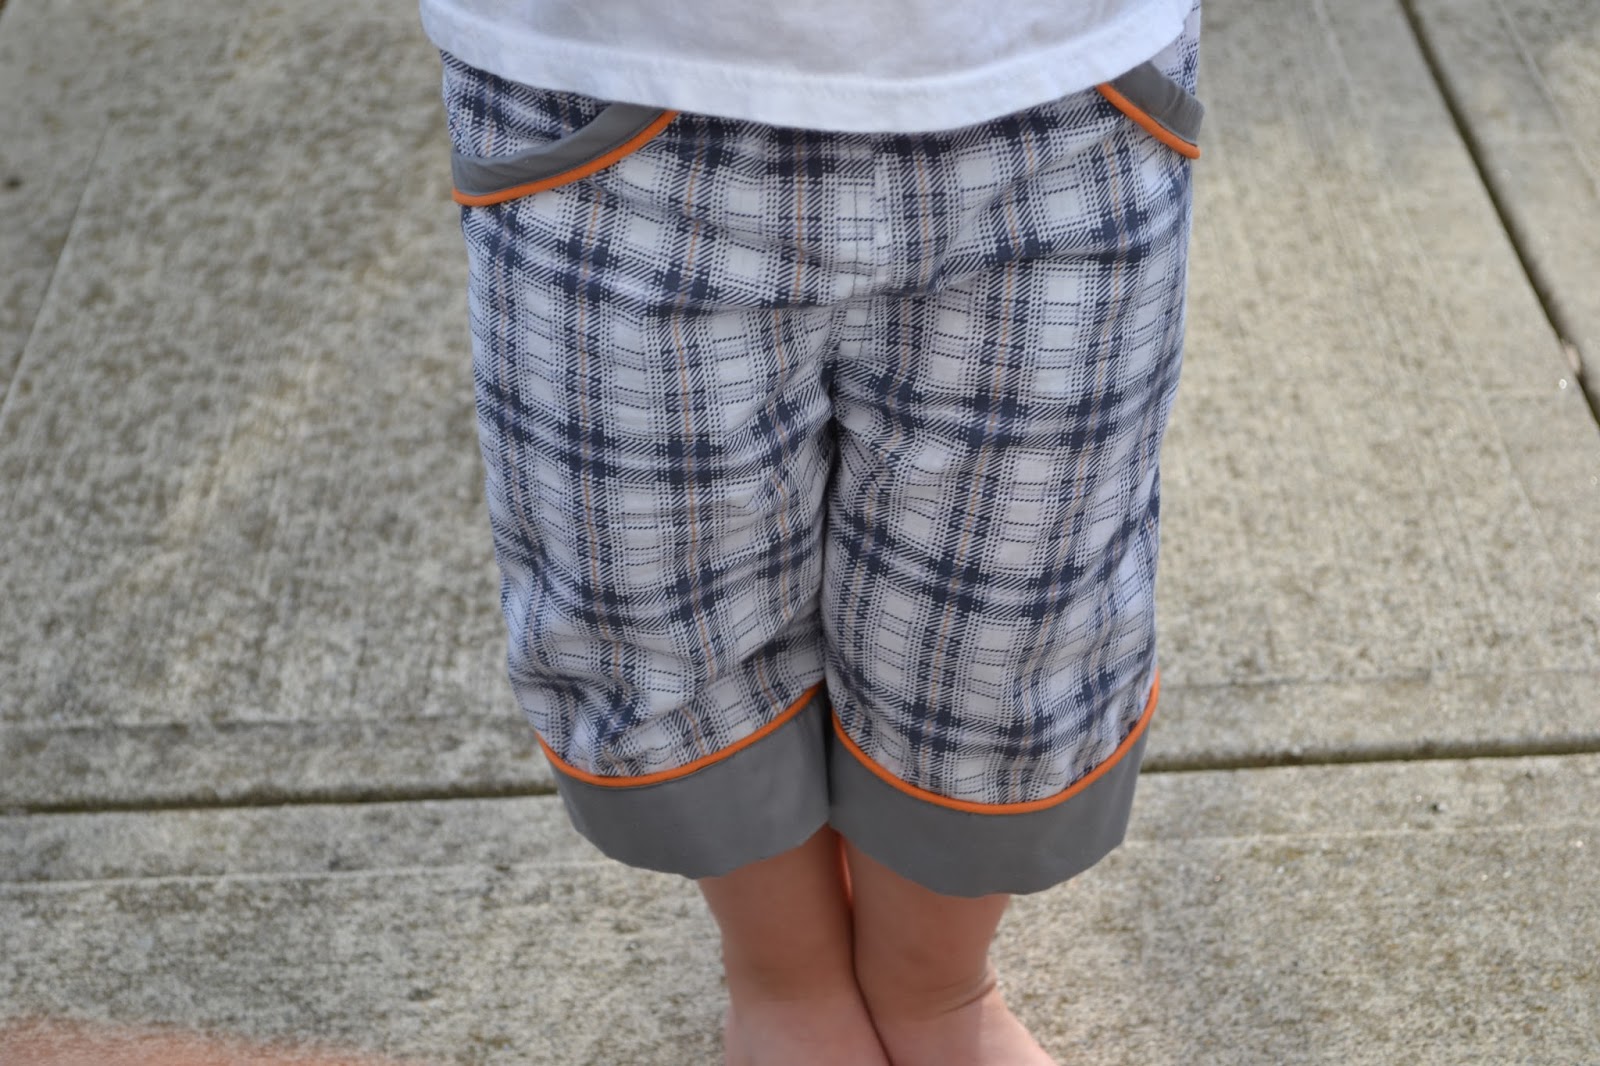
I apologize if its hard to see the details in my pictures. I didn't pick the best fabric for that. I used the white thread to try and help.

1. Cut out two of each pattern piece from the fabric (be sure to follow the grain line markings on the pattern pieces). Most all fabrics have a front and a back, so be sure mirror the shorts front and back pattern pieces when cutting them out.

2. Pin together the inner leg edge of one shorts front and one shorts back with the fabric fronts facing each other. Sew the inner legs together. Repeat with the remaining front and back pieces.


3. Open the two short sections. Lay the fabric front facing each other. The shorts back should be on shorts back and shorts front should be on shorts front. Be sure to match up the inner leg seam you have just sewn. Pin the crotch/rise front and back.


4. Sew the entire section front to back. Its a good idea to do two rows of stitches here to reinforce. I used the serger to do my second stitch but a sewing machine straight or zigzag will work fine.


5. Open and fold at the inner leg fabric fronts facing. Pin the front and back together at the sides. Stitch up both sides. 


They should start looking like shorts. If you haven't been using a serger, it's a good idea to finish your seams with a zig zag stitch or pinking shears at this point. Press all of your seams. 

I don't show it here but I serged/finished the leg and waist of the shorts since my fabric started fraying badly.


6. With your sewing machine set to the longest stitch. Sew a gathering stitch across the top and around the bottom of both pocket pieces. 


7. Lightly pull the bobbin thread on the gathering stitch on the bottom on the pocket. Pull just enough to help you fold an even 1/4" hem. Iron the 1/4" fold all the way from one side to the other. Repeat with the other pocket.


8. Fold and press the long part of the pocket band 1/4" on both sides. Then fold in half and press. Repeat for the other pocket band. 


9. Pull the bobbin thread for the gathering stitch across the top of the pocket. Gather pocket top to fit 1/4" in from the sides of the pocket band. Open the pocket band folds and line up the raw edge of the pocket and band with the front of the fabric facing each other. Pin in place. With a normal length stitch, sew along the 1/4" fold of the pocket band. Repeat with the other pocket.


10. Fold the pocket band over the raw edge of the gathered pocket. Press folds of the band again. Edge stitch the pocket band closed across the front of the pocket being careful to catch the back of the band. Since this will be the finishing stitch for the pocket band be sure to use the coordinating thread. Repeat with the other pocket.


11. Press raw ends of the pocket bands over 1/4". This should be even with the sides of the pocket. Pin to hold the folds in place. 


12. Right side out, lay shorts flat with the side seam facing you. Center the pocket on the seam 2" from the bottom of the leg. Pin the pocket in place. Again with the coordinating thread sew the pocket in to place. Repeat with the remaining pocket on the other side seam.


(Sorry guys couldn't bring myself to use white thread on the finishing stitches so its hard to see the pocket on the shorts.)

13. Fold the leg bands in half so the two short ends meet. Sew together using a 1/2 " seam allowance. (I gave a little extra length if your little one has really cubby thighs like my little one or if you would prefer a little less gathering - I used the 1/2 in seam allowance for the shorts pictured)

14. Length wise fold and press the leg band in half. Open fold then fold and press a 1/2" hem on both sides. Repeat for the other leg band. 

On this pair, I did only one 1" hem and then serged the other side. The serged side will be on the inside of the shorts.
15. Set the sewing machine to the longest stitch again and sew a gathering stitch around each leg. Pull the bobbin thread to gather the leg to fit the leg band.

16. Open the center fold of the pocket band pin the inside half of the band to the inside of the shorts. Sew in place. Repeat with the other leg.


17. Fold the band over the front of the shorts. Pin in place, then edge stitched closed. Repeat with the other leg.

18. For the elastic waist band casement, fold over the waist band edge 1/4" press. Fold again 1" and press. If you do not wish to do a fake drawstring skip to step 19.


19. Before sewing the casement turn the shorts right side out and mark two lines 3/8"down from the folded waistband and 3/4" apart straddling the front short seam. 


Open up the folded casement and do two button hole stitches. Make sure you are only going through one layer of fabric. Using a seam ripper carefully cut open the buttonholes and thread the twill tape through the buttonholes. 


20. Fold the waist band back in to place for the casement. Pin in place and edge stitch leaving a 2-3" opening. Measure your child's waist and add 1". This will be the length that is needed for the elastic. (my little one has a 19" waist so I cut the elastic 20") Using a safety pin thread the elastic through the opening. Work it all the way around being careful not to pull the other end through the opening. 


Connect the end by overlapping the elastic ends by 1" and running a zig zag stitch back and forth a couple times. Sew the opening in the casement closed being careful not to sew the elastic to the shorts.


Your done! Now you have a spiffy new pair of shorts for your darling. 


If you have any problems please leave me a comment and I will do my best to get back with you as soon as possible. Any general feed back is welcome too! This should go without saying, but please be kind, there is a human at the other end of this and I am new and still learning. 

Thanks for stopping by the nest!
Darla


All patterns, tutorials and recipes are for personal use only. Reproducing for publishing is prohibited. Please do not use patterns to produce items to sell. Thank you.

All contents of this blog are creative property of Darla Quail. If you wish to use any photos or any other content please contact me for permission.  Thank you.

Sunday, June 23, 2013

Gathered Pocket Shorts

I finally completed my second pair of shorts for Short-on-the-Line.  

When I saw the 
Puppet Show Short from Oliver+S that Jess from Craftiness is not Optional did for the 2013 Spring KCWC (shown below) I knew I had to make them. 

Photo from CINO
Aren't they cute! I can't afford the oliver + s patterns on my sewing budget, so I got creative and did a knock-off. I have never seen the pattern or a completed pair of shorts using the pattern in person so I am sure these are nothing like the real thing but they are good enough for me. 

I am working on the tutorial with the 2T pattern and hopefully I will be able to post it tomorrow. For now here is the completed product.


They are kind of a cross between the puppet show shorts and the bottom of the overalls I used to make the pattern. Now looking at the Oliver+S shorts I see that the legs are not as gathered as I thought. Oh-well I think they are cute anyway.


For a little detail at the waist, I decided to add the fake drawstring tie using a twill tape and the fabric is a denim blue poplin. 


Isn't this flag shirt fun. I used a tutorial from Our Good Life to make it. It took me about about 15 minute to make. The tutorial is a no sew however I found it easier to sew with the sewing machine then to battle with fusible tape. 


Stop by soon for the gathered pocket shorts pattern and tutorial. 

Thanks for visiting the nest!
Darla

Sunday, June 16, 2013

Shorts-on-the-Line: Boy's Long Shorts

This week I actually managed to complete a pair of shorts. I was starting to get concerned that I was not going to get to finish anything, at least nothing good enough to share. I am so happy that they are shorts for my son. I make so many things for Hannah that I feel like I am leaving my baby boy out of the fun.


A few weeks back I purchased the Growing up Sew Liberated book and fell in love with the basic pocket pants. I was itching to make them and knew that with some minor alterations they would make fantastic shorts for Samuel. 


I had picked up the gray plaid fabric from a clearance bin a while back with the intention to make shorts for Sammy. It fit perfectly with what I had in mind for this pattern. The bands on the legs & pockets is part of the original pattern however I was looking for something that was a little more eye catching so I added the orange piping. I haven't perfected my piping technique but think it turned out pretty great. I also used orange thread on the side seams for a little more pop.


I ran in to a little problem with the waistband. What you see is not the original pattern. The original pattern has a casement for the elastic added to the top of the pants that uses the coordinating fabric. However, when I had Samuel try on the pants the crotch was down to his knees. I compared the shorts to another pair of well fitting shorts of Samuel's and found that the pattern's waist was just too long. Almost 2 1/2 inches too long.  So I took the shorts waistband and inseam apart and fiddled with them a bit and found the best solution without having to start over was to remove the added casement and fold over the top of the pants about 1 1/4 inches to make a new casement. This of course  complicated the pockets but I think it turned out all right.


And best of all they now fit right. He can walk a complete stride when he wants to run or walk.


I really love how these shorts turned out. So much so I even asked my husband if he wants me to make him a pair. I, of course, would have to draft him a pattern from scratch; the pattern only goes up to a 5T after all.


I am taking advantage of this opportunity to do my first official pattern review. Bear with me, I am still fine tuning my reviewing format. 


The Review

***This review is only for the basic pocket pants not for the entire book.***

Pattern Name: Basic Pocket Pants
Author: Growing Up Sew Liberated by Meg McElwee
Format: Book
Cost: Retail $24.95 - I purchased mine from Amazon.com for $17.29
Level: Intermediate
Sizes: 2T - 5T
Pattern Type & Details: The patterns are located in an envelope in the back of the book. It is a large sheet of white standard weight paper. Pattern pieces are easy to locate and the details are clear. There is little to no overlapping of the pattern pieces. I trace all of my patterns using freezer paper and it was very easy to do with this pattern.
Instructions/Tutorial: The instructions were very clear and easy to follow. There were diagrams included for some but not all steps. I found times where I wished that there were more of them and that they were pictures not a drawing. For an intermediate sewer this isn't a big issue however for a beginner they might find this difficult. 
Things I loved: Meg's itch-free finish is awesome. Sewing down the seam allowance is fantastic. So much better than just trimming them. Plus it gives you an opportunity to add some details (you can see mine above). I love all the little special details she instructs you to do. I frequently forget to finish my seams prior to constructing but she reminds you. 
Finished Product/Results: This is where I was a little disappointed. I did make some minor alterations to this pattern but nothing that would have compromised the integrity of the pattern or its instructions. I shortened the hem of the pants to make them shorts and added piping to the pocket and leg bands. My son is wearing a 4T so I used the 4T pattern. The finished waist was way too long and the crotch came down to his knees. The length in general had them almost pants again even though I had removed 8 inches to make them shorts. They fit him beautifully everywhere else though (around the waist & thigh). My first thought was that I had messed up somewhere so I went back and reread all the directions and compared my traced patterns to the original and couldn't find where I went wrong. After taking apart the waistband and the inseam I determined the problem is with the waist length for the original pattern. My solution to the problem this time around is above.
Lesson: Before I start my next clothing project from this book I am going to double check all of my kids measurements before starting. Make adjustments to the pattern to fit my kids; maybe a the 2T waist length with 4T everywhere else?
Overall: I love these pants/shorts and have a very good impression of the general quality behind these patterns despite the fact that I ran in to the waist length issue. I believe that could have been avoided if I had done some additional measuring both to my kid and with existing well fitted clothing. You'd think that if you have a pattern in your child's size that it should just work, but as grownups we know that clothes just don't fit that way; no two people are the same. This goes for kids too. I am really looking forward to the other patterns in this book. 

Thanks for stopping by the nest!
Darla